Written by Julia Gorham and Heather Step
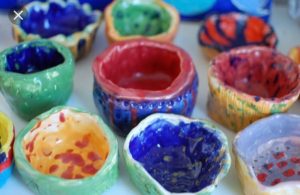
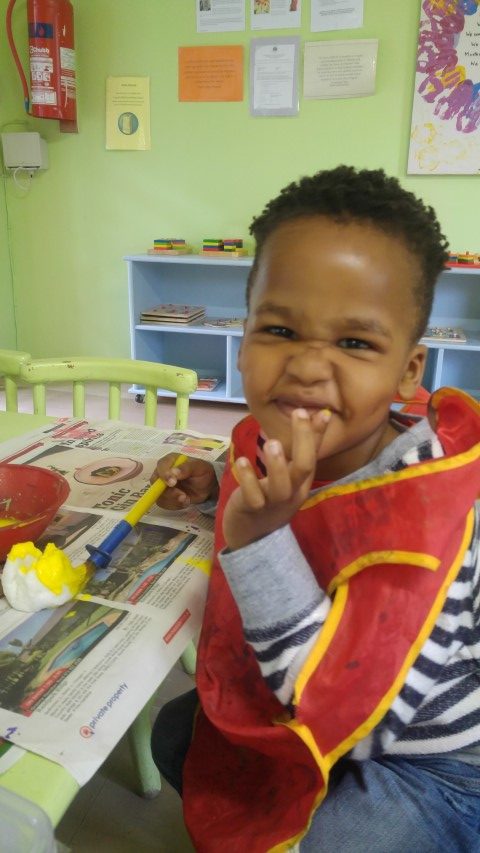
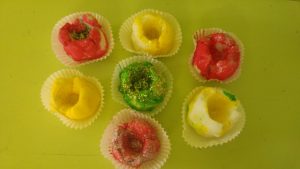
During our Holiday Crafts programme, the children made pinch pots with homemade clay. They loved rolling the clay between the palms of their hands and pushing down hard with their thumbs in the middle to make pinch pots.
Sensory interaction between child and materials are foremost. The goal should be as much direct contact with the hands and materials as possible.
Impressions: Give your child objects with interesting textures to press into the dough or clay. For example: Plastic forks, lids, keys, coins potato mashers and other washable items.
Stick sculptures: Use a lump of clay or dough as a base in which to insert materials such as sticks, toothpicks, pipe cleaners, straws, buttons and we also use natural items from our nature walks with pine cones, acorns, twigs, dried grass etc.
Playdough with colour: Let you child colour their own playdough by dropping a small drop of food colouring or liquid paint onto the homemade playdough and allow them to mix it.
Geometric shapes: clay on the table and then moulding it. This is a great Montessori extension with the Montessori geometric solids. Older children can use clay to make forms such as cubes, spheres, prisms etc. by tapping the clay on the table and then moulding it. This is a great Montessori extension for the Montessori geometric solids.
Pinch pots: Get your child to make a ball, press his thumb in the middle of the ball and then pinch the clay or playdough gently between his fingers and thumb to make a pinch pot. Making sure that your child widens the centre and thins the sides equally. Your child can then roll small dough eggs to place inside the pinch pot.
Clay recipe:
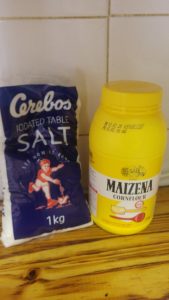 This recipe is taken from Family Education
Modeling Clay
Materials
- 2 cups salt
- Two thirds of a cup water
- Saucepan
- 1 cup cornstarch
- 1/2 cup cold water
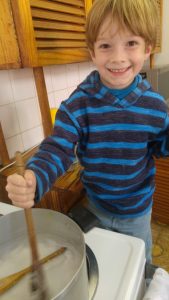
- Stir salt and water in a saucepan over heat 4-5 minutes.
- Remove from heat; add cornstarch and cold water.
- Stir until smooth; return to heat and cook until thick.
- Allow the clay to cool, then shape as desired.
- When dry, decorate with paint, markers, glitter, and so on.
- If you like, finish with clear acrylic spray or clear nail polish.
- Store unused clay in a Ziploc bag.
Note that it is better to use the clay immediately as it doesn’t keep well, even in a Ziplock bag.
We painted the clay and also sprinkled glitter on it. I used cupcake liners to contain them.
Other people have created beautiful pinch pots with thinner sides – check out this other stunning picture to the right. It really shows that there is a lot you can do with this idea. 