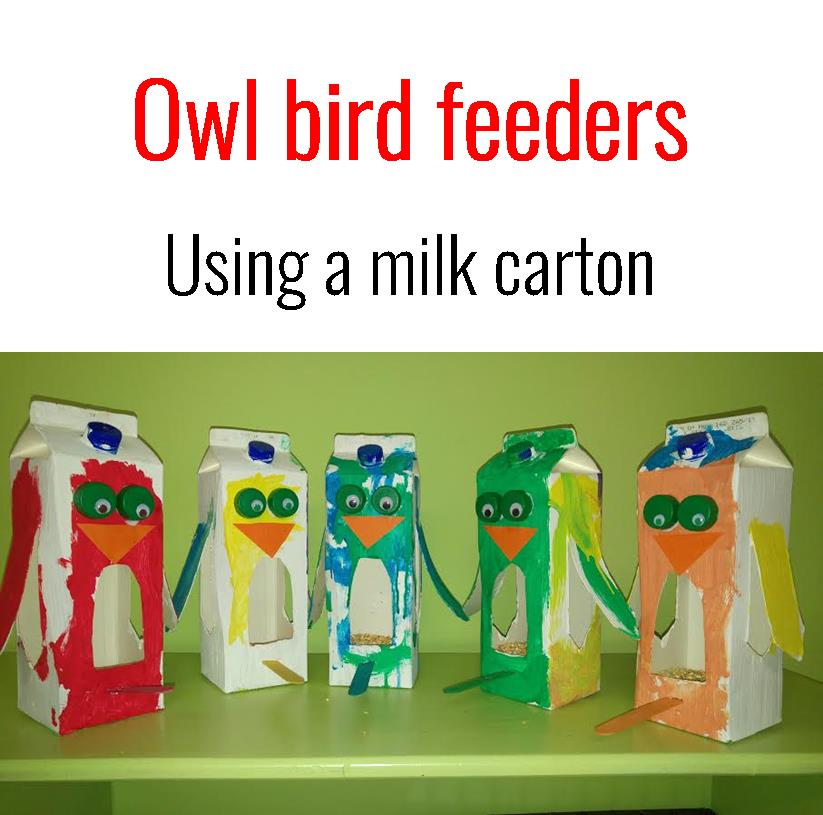
 If you ever wanted to make a cute bird feeder out of recycling material, here is a cute idea: an owl bird feeder. This concept was taken from the blog Red Ted Art and you can see their feeder made from a juice carton here.
You will need:
-A milk carton (or juice)
-Scissors or knife to cut the carton.
-Paint: if you want it to be outdoors you may want to use acrylic paint. I used a more durable paint for the white undercoat and then the kids painted on top with poster paint.
 -Bottle tops. I used little green ones. You can also use two and make the eyes two toned.
-Google eyes. To glue to the bottle tops.
-Glue. To glue the eyes on.
-Lolly stick. For the bird to sit on.
-Card. For the nose. I used orange.
-Bird seed.
Method:
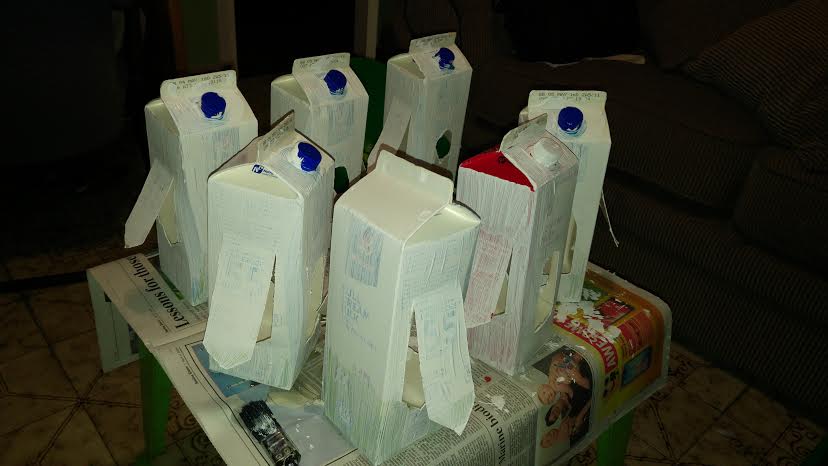
Whether you want to paint or cut first will depend on your circumstances. I found it easier to cut first. (It’s also a good idea to get all the milk out of the carton)
Cut a front door and side wings in your carton, leaving a space below for the birdseed.
Depending on the age of your child, you might want to do an undercoat first like I did, or else get them to paint it themselves.
First coat of white paint.
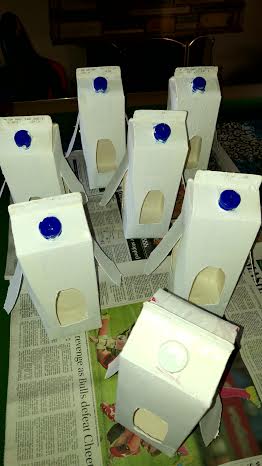
Second coat of white paint.
For the younger preschooler I did two white undercoats and then they painted on top. This is suitable for a child who won’t paint the whole thing and you would like to showcase the way he paints. The main thing is that you don’t want the milk labels to show up.
After painting, let it dry for a bit. 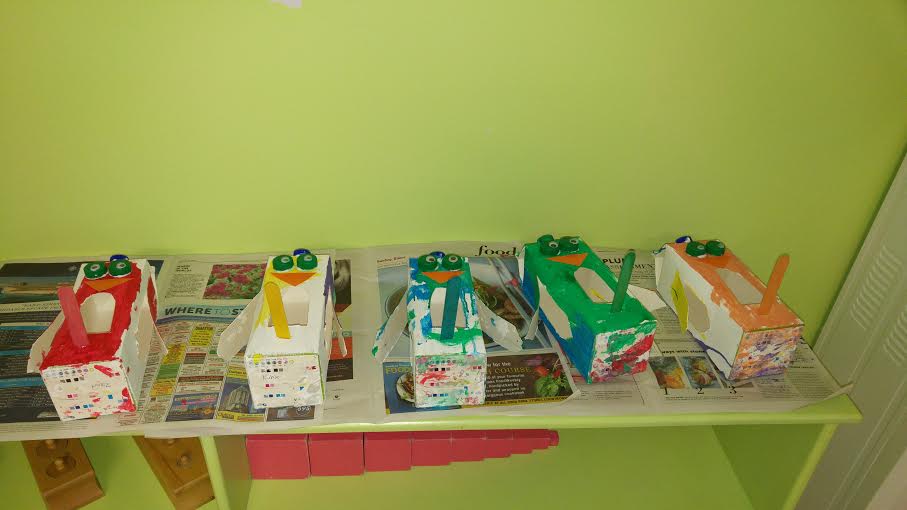 Then you can glue on the bottle top eyes and google eyes. You may need to lay them down to wait for the eyes to stick.
Lastly put in the lolly stick for the bird to sit on. You can also tape it inside for stability.
Check out this bird here where pencils are used: this would probably make the stand more stable for the bird.
 Don’t forget to add in the bird seed. I used a scoop to add it in.